
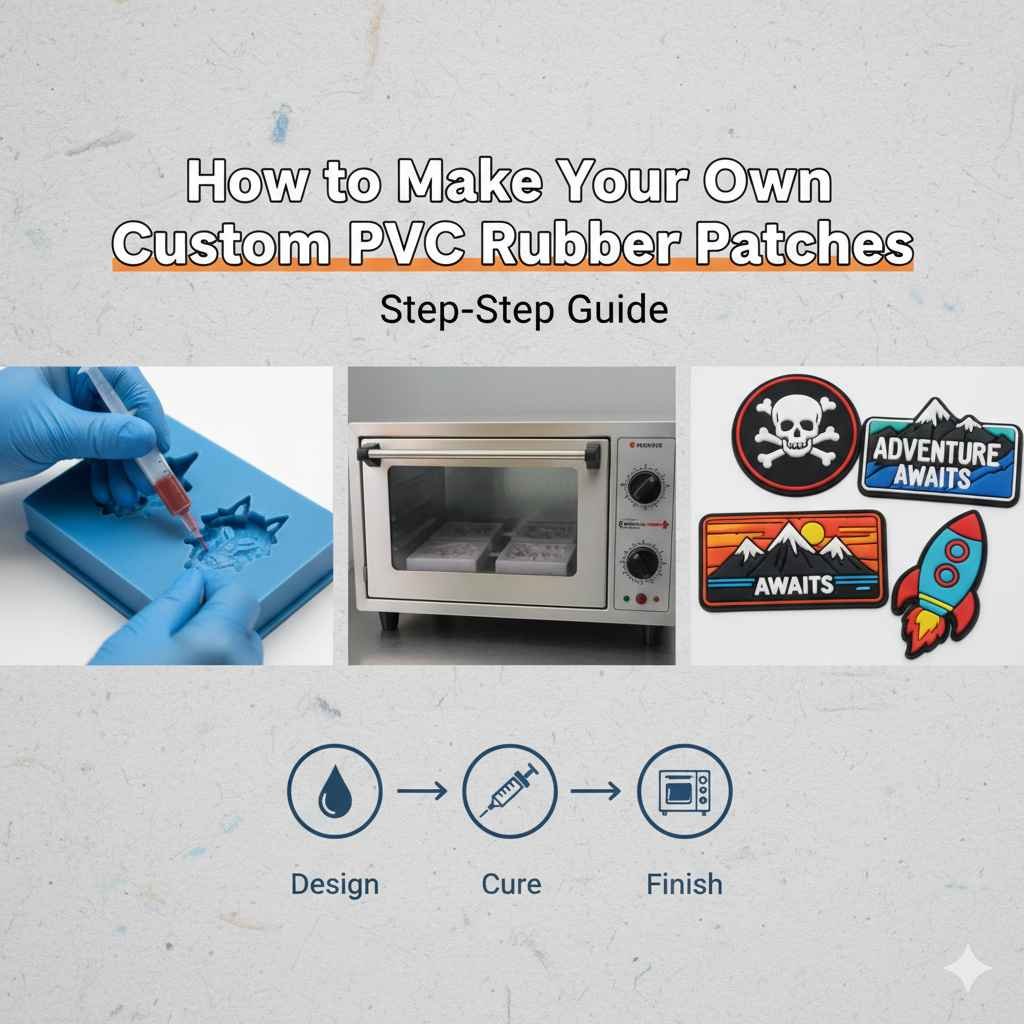
Have you ever looked at a sleek, flexible rubber patch on a jacket or backpack and wondered, “How do they make that?” Custom PVC rubber patches are everywhere from tactical gear and uniforms to trendy brand logos. They’re durable, weatherproof, and stylish, but for many people, the process behind creating them feels like a mystery.
If you’ve ever wanted to create your own custom PVC rubber patches, whether for personal use, your brand, or your business, this guide will walk you through everything from the design stage to final production. Making PVC patches can seem complex at first, but once you understand the process and materials, it’s surprisingly fun and rewarding.
Let’s dive into how you can turn your design ideas into flexible, durable, and professional-quality PVC rubber patches.
Why People Love Custom PVC Rubber Patches
PVC (Polyvinyl Chloride) is a type of soft plastic known for its durability, flexibility, and weather resistance. That’s why custom PVC rubber patches are popular in fashion, outdoor gear, and branding. Unlike embroidered or woven patches, PVC patches are waterproof and can hold intricate details, giving a bold, modern look that lasts for years.
Benefits of Custom PVC Rubber Patches
- Weatherproof & Waterproof: Perfect for outdoor use, rain, and heat.
- Long-Lasting Colors: Colors don’t fade easily, even with heavy use.
- Flexible & Durable: Can bend without cracking or peeling.
- 3D Design Capability: Achieve layered or raised effects.
- Custom Shapes & Sizes: Ideal for logos, mascots, or creative shapes.
- Easy to Apply: Available with Velcro, sew-on, or adhesive backs.
PVC patches are especially great for brands that want a premium, professional look. Whether you’re designing them for uniforms, tactical gear, or casual wear, they make a lasting impression.
Common Challenges in Making PVC Rubber Patches
Before we get into the step-by-step process, it’s important to understand the challenges beginners often face:
- Design Complexity: Translating a digital design into a 3D PVC mold can be tricky.
- Color Accuracy: Some colors may look different once molded.
- Material Setup: Finding the right PVC mixture and mold can be costly for small batches.
- Finishing Options: Choosing the right backing (Velcro, adhesive, sew-on) depends on your use case.
But don’t worry we’ll go through how to overcome each of these issues so you can make professional-looking patches with confidence.
Step 1: Plan Your Design
Every great patch starts with a clear design idea. Think about what you want your patch to represent your logo, brand, slogan, or a unique piece of art.
Tips for a Strong Design:
- Keep lines bold and clean — fine details can get lost in the molding process.
- Use contrasting colors for better visibility.
- Avoid overly complicated backgrounds.
- Decide on your patch shape (circle, square, shield, or custom shape).
Pro Tip: Use design software like Adobe Illustrator, CorelDRAW, or Canva to create vector files. These files help manufacturers create molds accurately.
Step 2: Choose the Right Materials
PVC rubber patches are made from soft plastic (PVC) that’s heated and poured into molds. Choosing quality materials ensures your patches last longer and maintain their color.
Basic Materials You’ll Need:
- Liquid PVC rubber compound (available in different hardness levels)
- Color pigments for design detailing
- Silicone or metal mold for shaping your design
- Backing options: Velcro, adhesive, or plain sew-on
Each layer of PVC is added in stages to create depth and texture — from the base color to raised details.
Step 3: Create or Order a Mold
Creating a mold is the most technical part. A mold defines the exact shape, texture, and thickness of your patch.
If you’re making just a few patches, you can use silicone molds created with a 3D printer. For large orders, professional manufacturers use metal molds for better precision and longevity.
Mold Tips:
- Ensure the mold captures every fine detail.
- Always test one sample before mass production.
- Keep your mold clean to avoid surface imperfections.
At Custom Patch Maker, we use precision-milled molds to ensure every PVC patch matches the client’s design perfectly.
Step 4: Pouring and Layering the PVC
Once the mold is ready, the real fun begins. PVC is heated and poured into the mold in multiple layers. Each color and raised section is added separately.
The Process:
- Pour the base layer (background color).
- Add the raised layers for logos or letters.
- Bake or cure the patch for a few minutes to harden it slightly.
- Repeat for each color until your design is complete.
This process gives PVC patches their signature 3D effect — bold, textured, and eye-catching.
Step 5: Add Backing Options
Once your patch is ready, you can choose how you want to attach it.
Common Backing Types:
- Sew-On: Permanent and secure.
- Velcro: Great for tactical or military gear.
- Adhesive (Peel & Stick): Quick and easy for temporary applications.
- Iron-On: Some PVC patches use a heat-activated adhesive.
Choose your backing based on where you plan to use the patch — uniforms, hats, jackets, or backpacks.
Step 6: Curing and Finishing Touches
After layering and backing, patches need to cure — a heating process that solidifies the PVC. Then, they’re trimmed and polished to remove any rough edges.
Quality control is crucial here. Check that the edges are smooth, colors are correct, and there are no air bubbles or distortions.
At Custom Patch Maker, each PVC patch goes through a detailed inspection process to ensure a professional, long-lasting finish.
Step 7: Packaging and Delivery
Once the patches are complete, they can be packaged individually or in bulk. Use eco-friendly packaging if you’re sending patches to customers — it adds a professional touch and aligns with sustainable practices.
Benefits of Making Your Own PVC Rubber Patches
- Full Creative Control: You decide every detail — from size and color to texture.
- Cost Efficiency: Making your own can save money in bulk production.
- Perfect Branding Tool: Custom PVC patches help promote your logo or brand in style.
- Durability: PVC rubber patches last longer than embroidered or printed patches.
- Uniqueness: Stand out with 3D designs that catch attention.
When done right, custom PVC rubber patches give your products a professional and durable touch ideal for outdoor brands, uniforms, or creative merchandise.
Tips for Beginners
- Start Small: Create a few test patches before mass production.
- Experiment with Colors: Test how pigments look after curing.
- Keep the Design Simple: Avoid tiny details that may not mold well.
- Choose High-Quality PVC: The better the material, the longer your patch lasts.
- Work with Experts: If you’re new to patch-making, partner with professionals like Custom Patch Maker for guidance.
Common Mistakes to Avoid
- Overcomplicated Designs: Fine details can blur during molding.
- Wrong Color Choices: Always test colors before finalizing.
- Poor Mold Quality: Cheap molds can ruin the final product.
- Skipping Quality Control: Each patch should be inspected before packaging.
Learning from these mistakes ensures your patches look sharp and professional every time.
Why Work With a Professional Manufacturer
Even though you can create your own patches, partnering with a professional can save time and resources especially for large orders.
Custom Patch Maker specializes in custom PVC rubber patches designed for durability, precision, and brand identity. With our expertise, you get:
- Advanced mold-making technology
- Flexible order sizes (small or bulk)
- Fast turnaround and global shipping
- 3D and glow-in-the-dark options
You focus on your design we handle the rest!
FAQs About Custom PVC Rubber Patches
1. How long do custom PVC rubber patches last?
PVC rubber patches can last for many years. They resist fading, cracking, and weather damage, making them ideal for long-term use.
2. Can I make custom PVC rubber patches at home?
Yes, you can! For small batches, use silicone molds and PVC liquid kits. However, for complex or bulk designs, working with a manufacturer ensures professional results.
3. Are PVC patches safe for outdoor use?
Absolutely! They are waterproof, flexible, and UV-resistant — perfect for outdoor clothing, tactical gear, and accessories.
4. What’s the minimum order quantity for PVC patches?
At Custom Patch Maker, we offer flexible minimums — even small custom orders are welcome.
5. Can PVC patches be recycled?
Some components are recyclable, but always check with your local recycling facility or request eco-friendly PVC materials.
Final Thoughts
Creating your own custom PVC rubber patches is a fun and creative process that gives you total control over your design and brand image. From sketching your concept to pouring the final mold, every step helps you learn and refine your craft.
Whether you’re a small business owner, a creative hobbyist, or part of a growing brand, PVC patches can transform your ideas into durable, eye-catching products.
And if you want to skip the learning curve and get professional-grade results, Custom Patch Maker is here to bring your design to life with quality, precision, and unbeatable prices.