
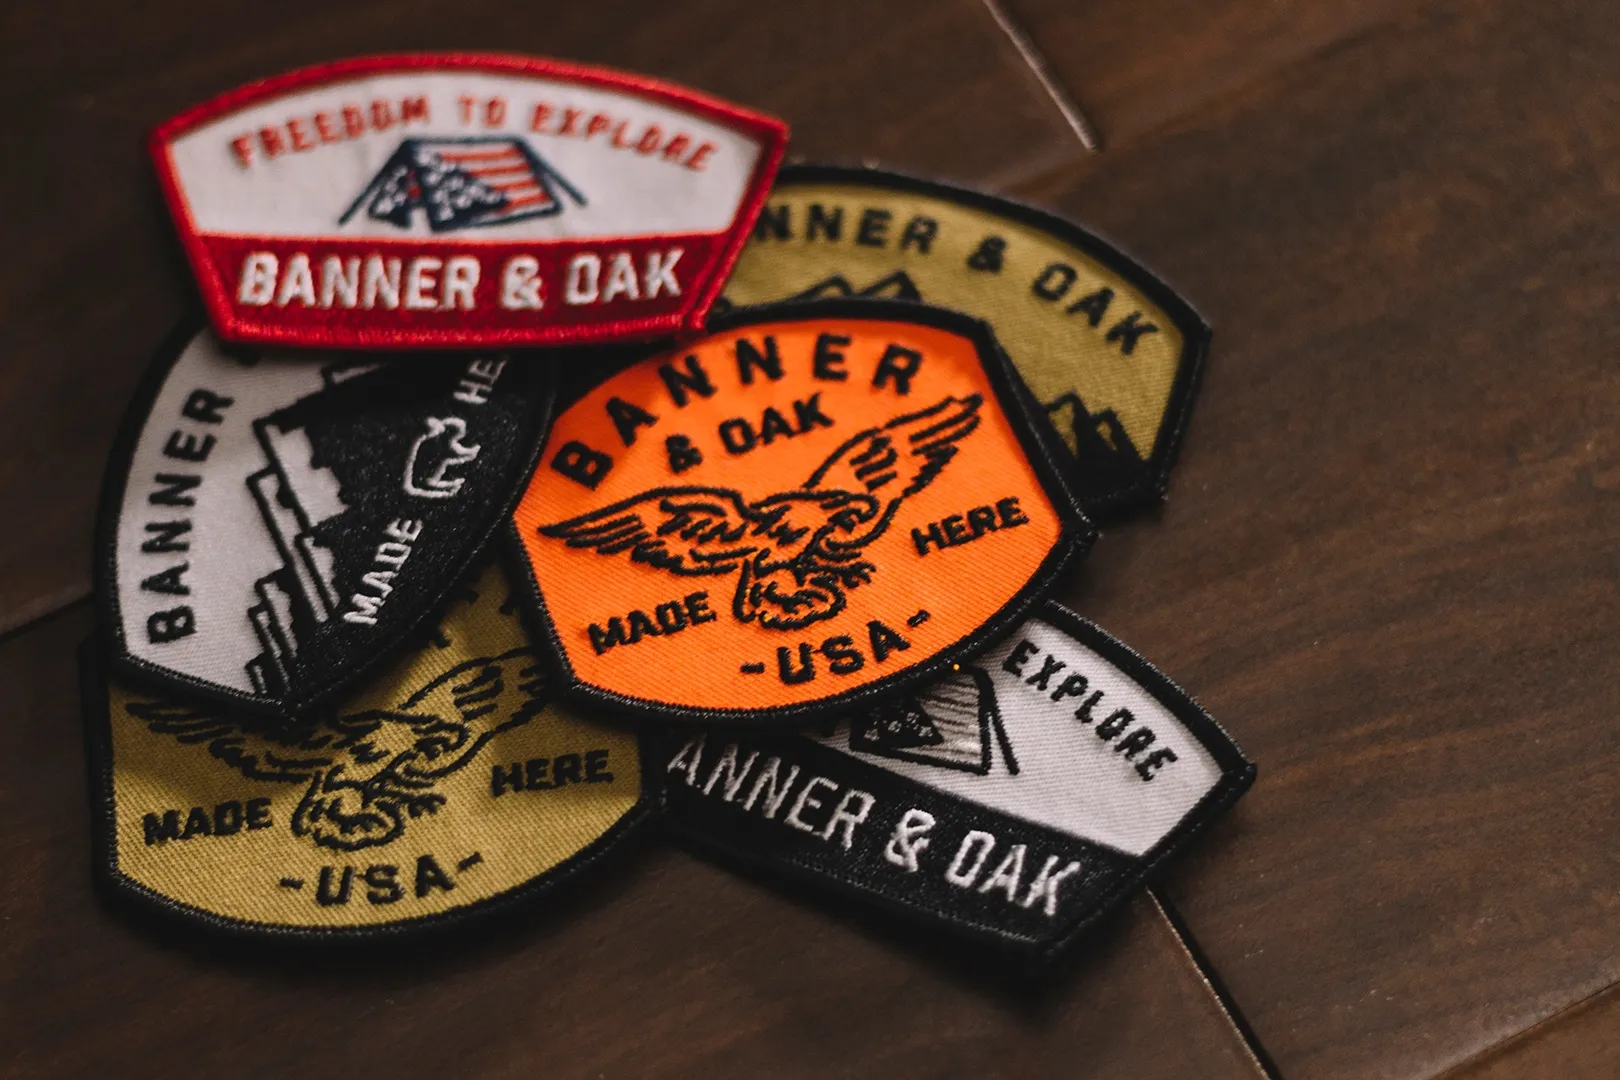
Why Custom Patches Are Popular
Patches are more than just decorations they tell stories, promote brands, and show style. People use embroidered patches, fabric patches, and iron-on patches on jackets, jeans, caps, and uniforms. They last longer than prints and can be removed or swapped easily.
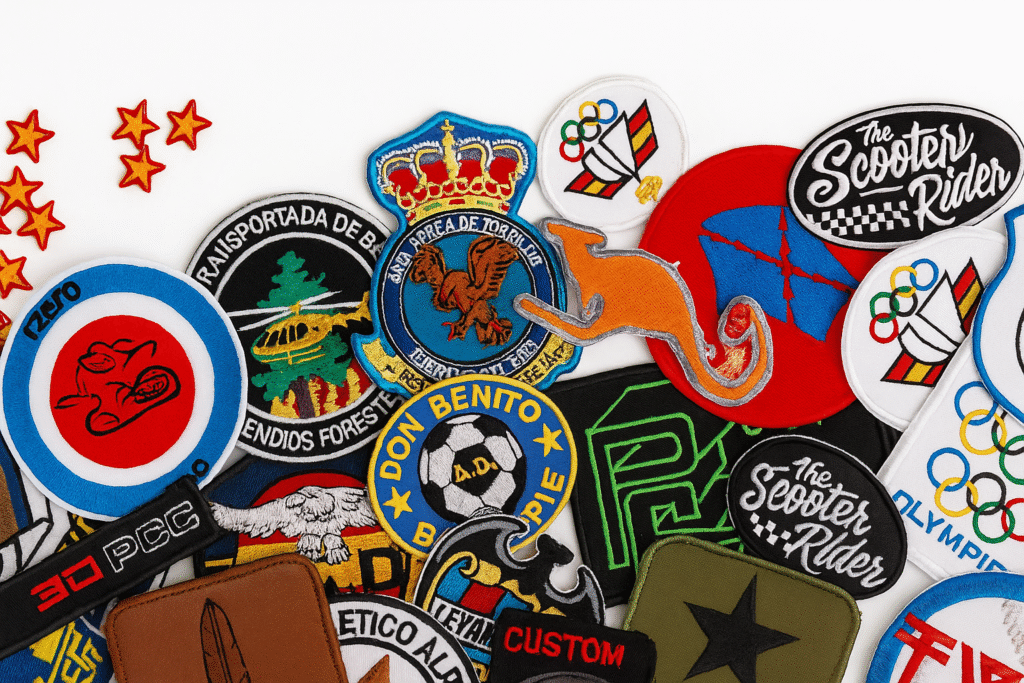
But the main question is: how to make custom patches for clothing that actually last?
Common Challenges in Making Custom Patches
Making patches isn’t always easy. Many beginners struggle with:
- Picking the right fabric backing
- Choosing between iron-on patches vs sew-on patches
- Making designs look good when embroidered
- Keeping patches durable after washing
These problems are real, but they’re easy to solve with the right steps.
Step 1: Plan Your Patch Design
Design is the first and most important step. When creating a patch, think about:
- Shape – Round, square, or custom.
- Size – Large patches need bold lines, small patches need simple designs.
- Colors – High-contrast embroidery thread works best.
- Style – Classic embroidered look, printed patches, or woven patches.
Step 2: Pick Materials
Good patches need strong materials. Here’s what you’ll need:
- Fabric – Felt or twill for the base.
- Thread – Polyester embroidery thread (resists fading).
- Backing – Choose from iron-on adhesive, Velcro, or plain sew-on backing.
- Border – Merrowed edges or heat-cut edges.
Step 3: Choose Your Making Method
You can make patches in three main ways:
- Hand embroidery – Great for DIY patches, but slow.
- Embroidery machine – Perfect for semi-pro patch making.
- Professional Custom patch makers – Best for bulk custom patches.
Step 4: Stitch or Print the Patch
If you’re doing embroidery, digitize the design first. This tells the machine where to place stitches. For DIY, draw your design and stitch carefully. Some people also choose printed patches or woven patches for very detailed designs.
Step 5: Add the Backing
The backing decides how your patch attaches to clothing:
- Iron-on patches – Easy and quick, but not best for rough use.
- Sew-on patches – Strongest method, works on jackets, jeans, and uniforms.
- Velcro patches – Popular for tactical or military clothing.
Step 6: Apply the Patch to Clothing
Attaching is simple:
- Iron-on method – Heat press or iron for 20–30 seconds.
- Sew-on method – Use a machine or hand stitching.
- Velcro method – Stick and remove anytime.
Tips for Long-Lasting Patches
- Wash clothes inside out.
- Avoid very hot dryers.
- Reinforce with stitching if needed.
- Use polyester thread for longer life.
Creative Patch Ideas
Custom patches aren’t only for uniforms. People use them for:
- Fashion patches – On jeans, jackets, and sneakers.
- Team patches – Sports clubs and school uniforms.
- Business patches – Company logos for branding.
- Personal patches – Fun designs for self-expression.
FAQ
Q1: How to make custom patches for clothing without a machine?
You can hand-stitch patches using felt fabric, embroidery thread, and an iron-on or sew-on backing. It takes longer but gives a personal handmade look.
Q2: Are iron-on patches durable for clothing?
Iron-on patches work well for casual clothes but may peel after many washes. For long-lasting patches, use sew-on or a mix of iron-on plus stitching.
Conclusion
Now you know how to make custom patches for clothing step by step. From choosing a design and fabric to stitching, backing, and attaching, each stage matters. Patches are more than just accessories; they’re personal statements, brand builders, and long-lasting decorations.
Whether you make DIY embroidered patches at home or order from professional patch makers, remember one rule: quality materials create patches that last.
So why wait? Start designing your own patch today and give your clothing a style upgrade.