
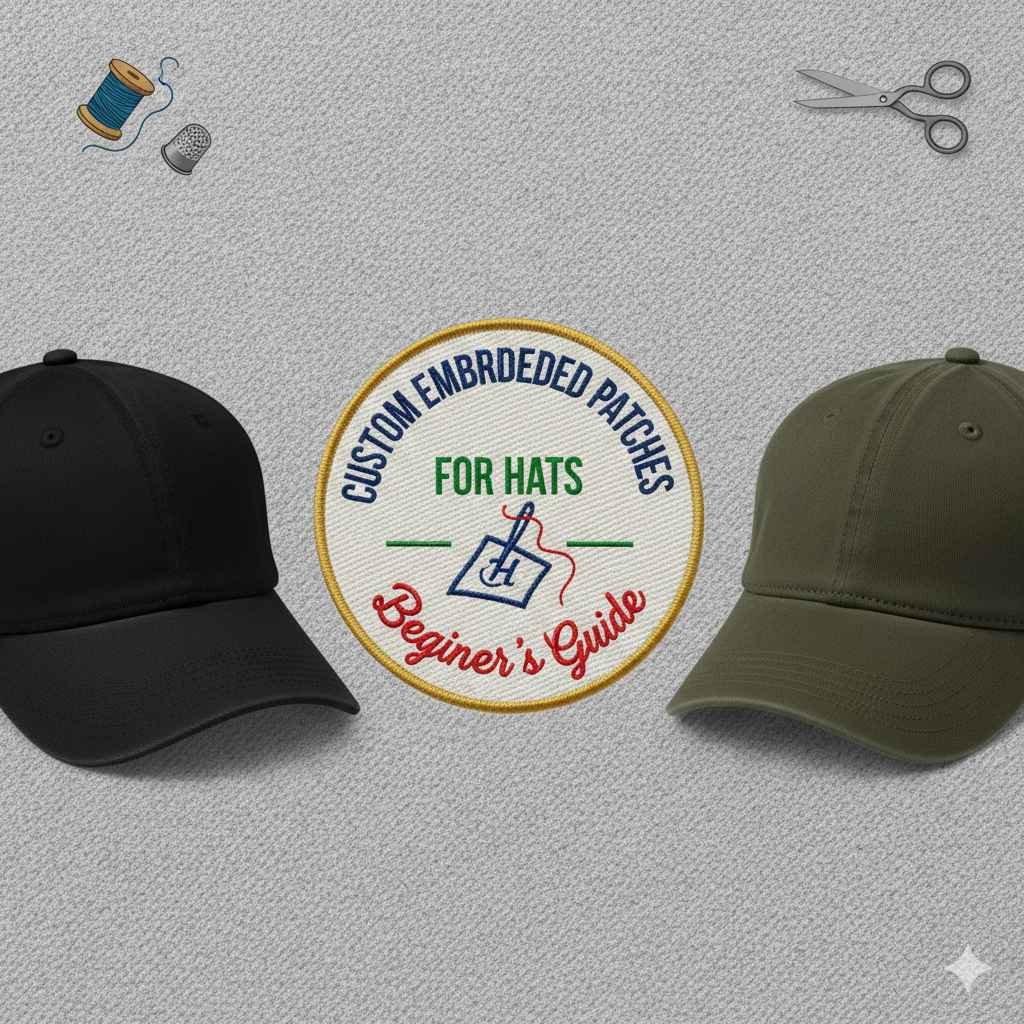
Have you ever looked at a hat with a beautifully stitched patch and wondered, how do they make that? You’re not alone. Custom embroidered patches for hats are trending among fashion lovers, small businesses, and team apparel brands. But creating your own patches can seem confusing at first from design choices to stitching techniques, there’s a lot to figure out.
As an embroidery expert from Custom Patch Maker, I’ll walk you through everything step by step in simple, easy-to-follow language. By the end of this guide, you’ll know exactly how to design, produce, and attach high-quality patches that make any hat stand out.
Understanding Custom Embroidered Patches for Hats
Before we dive into the process, let’s understand what these patches actually are.
Custom embroidered patches for hats are small pieces of fabric with stitched designs, logos, words, or artwork — created using embroidery machines. They’re then applied to hats through sewing, ironing, or adhesive backing.
They’re used for everything from branding company uniforms to customizing baseball caps, team hats, or promotional giveaways. Their appeal lies in durability, rich texture, and the professional look embroidery provides.
How Embroidered Patches Are Made
Embroidery is the art of decorating fabric with thread. In patch-making, it starts with a digital design file, which tells the machine where to place each stitch. The machine then embroiders your design onto a base fabric, usually twill or felt, using colorful threads.
Once stitched, the patch is cut into shape circular, rectangular, or custom and finished with a heat-seal backing or edge border (called a merrowed edge).
At Custom Patch Maker, we use advanced embroidery machines and high-quality threads to make patches that hold their shape and color even after years of wear.
Types of Hat Patches
Not all patches are the same. When making custom patches for hats, you can choose from several attachment options:
- Iron-on patches: Perfect for quick DIY use. Just press with heat.
- Sew-on patches: Offer maximum hold and a classic finish.
- Velcro patches: Allow easy removal and swapping designs.
- Adhesive backing: For temporary or fashion-based applications.
Each type has its own purpose — iron-on for ease, sew-on for strength, Velcro for versatility.
Why Add Embroidered Patches to Hats?
Adding custom embroidered patches to hats is more than just decoration it’s a way to show identity, build brand awareness, and express creativity.
1. Personal Expression and Style
A custom patch turns an ordinary cap into a statement piece. Whether it’s your initials, a favorite quote, or a hobby symbol — patches reflect your personality.
2. Branding and Promotion
For businesses, embroidered patches on hats create instant brand visibility. They look professional and are perfect for promotional events, uniform caps, or giveaways.
3. Team Unity
Sports teams, clubs, or staff uniforms look more cohesive with embroidered hat patches featuring logos or mascots. It builds belonging and recognition.
Key Benefits of Custom Embroidered Patches for Hats
There are plenty of reasons people prefer embroidered patches over printed ones and understanding these helps you make better design choices.
1. Durability and Longevity
The biggest advantage? These patches last.
Unlike printed stickers that fade, embroidery resists washing, sunlight, and daily wear. At Custom Patch Maker, we use colorfast threads to ensure long-lasting designs.
2. Professional and Premium Finish
Embroidery has texture. It looks classy, feels rich, and adds depth — perfect for luxury caps or branded merchandise.
3. Affordable Customization
You don’t need to buy expensive gear. With embroidery patches, even small batches look premium, making them ideal for startups or hobbyists.
4. Endless Design Flexibility
From 3D puff embroidery to flat stitching, from minimalist logos to colorful emblems — the creative options are unlimited.
Step-by-Step: How to Make Custom Embroidered Patches for Hats
Here’s the fun part learning how to make them. Whether you’re doing it at home or ordering through Custom Patch Maker, these are the key steps.
Step 1: Plan Your Design
Start by deciding what you want your patch to represent. Is it a logo, a symbol, or a phrase?
Keep designs simple and bold tiny details don’t always stitch well. Upload Here
Tips:
- Avoid ultra-thin lines.
- Choose contrasting thread and fabric colors.
- Make text at least ¼ inch tall for readability.
Step 2: Choose the Patch Shape and Size
The most common hat patch shapes are round, square, or shield-shaped.
For baseball caps, 2 to 2.5 inches is ideal — big enough to be seen, small enough to fit.
At Custom Patch Maker, we offer standard and custom shapes so your design fits perfectly on your chosen hat type.
Step 3: Pick Fabric and Thread Colors
Choose a sturdy base fabric like twill or felt.
Threads should match your brand or theme. Use color charts to see how different threads look when stitched.
If you want something unique, go for metallic or glow-in-the-dark threads.
Step 4: Convert Your Design into a Digital File
Embroidery machines can’t read images directly — they need a “digitized” version of your design.
This file (often .DST or .PES) tells the machine where to stitch each color.
Digitizing is technical work — that’s why most creators trust professionals like Custom Patch Maker to convert designs accurately.
Step 5: Test Your Embroidery
Before mass-producing, do a sample run. This helps catch thread issues, color mismatches, or misaligned text early.
At Custom Patch Maker, every order gets a pre-production sample for approval, so you know exactly what the final patch will look like.
Step 6: Cut and Finish the Patch
Once embroidered, patches are trimmed to shape.
You can choose:
- Merrowed border: Thick stitched edge for classic look.
- Laser cut edge: Clean, modern finish for intricate shapes.
The patch then gets backing — iron-on, Velcro, or adhesive.
Step 7: Attach the Patch to Your Hat
Now it’s time to add it to your hat!
There are a few easy ways:
Iron-On Method
- Preheat iron (no steam).
- Place patch on hat.
- Cover with thin cloth.
- Press firmly for 20–30 seconds.
- Let cool.
Sew-On Method
For long-term durability, sew along the patch border using matching thread.
Velcro or Adhesive
These are great for quick swaps — especially for tactical or promotional hats.
Common Challenges in Making Custom Hat Patches
Even with the best tools, beginners face some common issues. Here’s how to handle them:
1. Thread Breakage
Use high-quality thread and correct machine tension.
2. Design Distortion
Too many small details can distort — simplify your artwork.
3. Wrong Placement on Hat
Mark the center before attaching the patch to keep alignment straight.
4. Backing Doesn’t Stick
If the patch doesn’t adhere, reheat it or consider switching to sew-on backing.
Pro Tips from Custom Patch Maker Experts
- Keep contrast high: Bright thread on dark fabric always pops.
- Avoid clutter: Simple logos are more readable on hats.
- Use 3D puff embroidery: Adds a raised texture — perfect for bold logos.
- Check thread tension: Prevents loose stitches and uneven outlines.
- Don’t skip the sample: One test can save a full batch from errors.
Where to Get Custom Embroidered Patches for Hats
While you can try DIY, working with a professional patch maker ensures perfection.
At Custom Patch Maker, we handle the entire process — from digitizing to embroidery and backing options — so you get patches that last and look professional.
Why Choose Custom Patch Maker
- Industry-leading embroidery machines
- Durable, colorfast threads
- Free digital proof before production
- Low minimum orders
- Fast, worldwide shipping
If you’re serious about creating custom embroidered patches for hats that stand out, we’re ready to bring your design to life.
Final Thoughts
Creating custom embroidered patches for hats is a fun and rewarding process. Whether it’s for your personal collection, brand merchandise, or a team event — the combination of fabric, thread, and creativity brings your design to life.
With the right tools, patience, and help from professionals like Custom Patch Maker, you can turn a simple idea into a high-quality embroidered patch that lasts for years.
FAQs About Custom Embroidered Hat Patches
Q1: What’s the best size for embroidered patches on hats?
Most patches work best between 2 to 2.5 inches wide.
It’s visible without overwhelming the hat’s shape.
Q2: Can I wash hats with embroidered patches?
Yes! High-quality patches from Custom Patch Maker are machine washable.
Use gentle cycles and avoid high heat drying to keep colors fresh.
Q3: How long do embroidered patches last?
With proper care, embroidered patches can last for years without fading — that’s why they’re perfect for uniforms and branded hats.